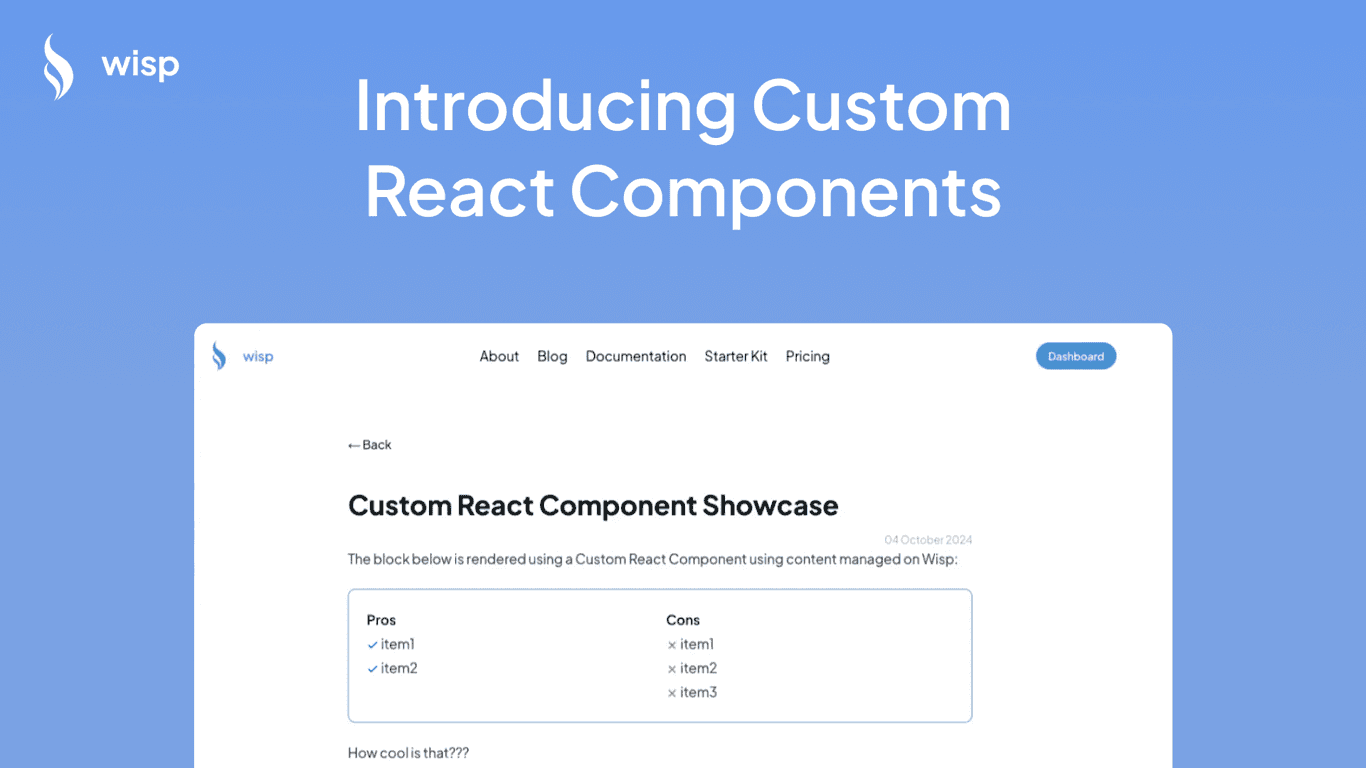
As content creators and marketers, we often face the challenge of integrating calls-to-action (CTAs) into our blog posts without disrupting the reader's experience. Today, I'm excited to share a solution that allows you to dynamically insert a CTA component into your article content, specifically targeting a position near the end of the post for maximum impact.
The Problem
When working with content from a CMS, we typically receive the article as a single HTML string. Inserting a CTA at a specific point in this content can be tricky, especially if we want to ensure it appears at a natural break in the text, like after a paragraph.
The Solution
I've developed a React utility function called insertComponent that solves this problem elegantly. This function allows you to insert a React component into HTML content at a specified point, ensuring it doesn't break up sentences or paragraphs.
Let's break down how it works and how you can use it in your projects.
The insertComponent Function
import React from "react";
import ReactDOMServer from "react-dom/server";

export function insertComponent(
  htmlContent: string,
  Component: React.ElementType,
  insertionPoint: number = 0.5,
): string {
  const parser = new DOMParser();
  const doc = parser.parseFromString(htmlContent, "text/html");
  const allParagraphs = doc.body.querySelectorAll(":scope > p");
  const targetIndex = Math.floor(allParagraphs.length * insertionPoint);

  const targetParagraph = allParagraphs[targetIndex];
  if (targetParagraph && targetParagraph.parentNode) {
    const ctaElement = document.createElement("div");
    ctaElement.innerHTML = ReactDOMServer.renderToString(<Component />);
    targetParagraph.parentNode.insertBefore(
      ctaElement,
      targetParagraph.nextSibling,
    );
  }

  return doc.body.innerHTML;
}
This function takes three parameters:
htmlContent: The original HTML content as a string.Component: The React component to be inserted.insertionPoint: A decimal representing the percentage of the content at which to insert the component (default is 0.5, or 50%).
How to Use It
Here's an example of how you can use the insertComponent function in your React component:
import React from 'react';
import { insertComponent } from './insertComponent';
import sanitize from 'sanitize-html';

const CTA = () => (
  <div className="cta-container">
    <h3>Enjoying this article?</h3>
    <p>Subscribe to our newsletter for more great content!</p>
    <button>Subscribe Now</button>
  </div>
);

export function BlogPost({ content }) {
  // Sanitize the content first
  const sanitizedContent = sanitize(content, {
    allowedTags: ['p', 'h1', 'h2', 'h3', 'strong', 'em', 'ul', 'ol', 'li', 'a'],
    allowedAttributes: {
      'a': ['href']
    }
  });

  // Insert the CTA component at 80% of the content
  const contentWithCTA = insertComponent(sanitizedContent, CTA, 0.8);

  return (
    <div className="blog-post">
      <div dangerouslySetInnerHTML={{ __html: contentWithCTA }} />
    </div>
  );
}
In this example, we're inserting a CTA component at 80% of the way through the content. The insertComponent function ensures that the CTA is placed after a complete paragraph, maintaining the flow of the article.
Benefits of This Approach
Non-intrusive: The CTA is inserted at a natural break in the content, not disrupting the reading experience.
Flexible: You can easily adjust the insertion point by changing the third parameter of
insertComponent.Reusable: The
insertComponentfunction can be used with any React component, not just CTAs.Safe: By using
sanitize-html, we ensure that the content is clean and safe to render.
Conclusion
This technique provides a powerful way to dynamically insert CTAs or other components into your blog posts. It's particularly useful when working with content management systems that don't natively support such insertions.
If you're looking for a headless CMS that pairs perfectly with this approach, consider checking out wisp. wisp is designed to seamlessly integrate with your existing websites and provides a beautiful, Medium-like editor for your content creators.
Combined with the insertComponent function, wisp can help you create engaging blog posts with strategically placed CTAs to boost your conversion rates.
Ready to take your content strategy to the next level?
Try wisp today and see how easy it can be to manage your blog and insert CTAs that convert!


