Form validation is a critical aspect of web development that ensures data integrity and enhances user experience. However, implementing form validation from scratch can be challenging, especially when dealing with diverse input types and error handling. This is where powerful libraries like React Hook Form and Zod come into play. React Hook Form simplifies the process of managing form states and validations, while Zod offers a robust, TypeScript-first schema declaration and validation tool.
In this article, we'll dive deep into how to integrate Zod validation with React Hook Forms, providing you with a comprehensive guide, from setting up your environment to advanced form validation techniques. Let’s get started!
Setting Up the Environment
Before we begin integrating Zod with React Hook Form, let's set up our development environment. We'll create a new React application and install the necessary dependencies.
Step 1: Initialize a React Project
You can create a new React project using Create React App or Vite. For simplicity, we'll use Create React App in this example.
npx create-react-app zod-react-hook-form --template typescript
cd zod-react-hook-form
Step 2: Install Dependencies
Next, we'll install React Hook Form, Zod, and the Hookform resolvers.
npm install react-hook-form zod @hookform/resolversor if you're using yarn:
yarn add react-hook-form zod @hookform/resolversCreating a Validation Schema with Zod
Zod is a TypeScript-first schema declaration and validation library, which means it integrates seamlessly with TypeScript, providing static type inference for your data structures. This makes Zod a powerful tool for creating robust validation schemas.
Here's an example of creating a simple validation schema with Zod.
import { z } from 'zod';

const formSchema = z.object({
  username: z.string().min(2, { message: "Username must be at least 2 characters." }),
});
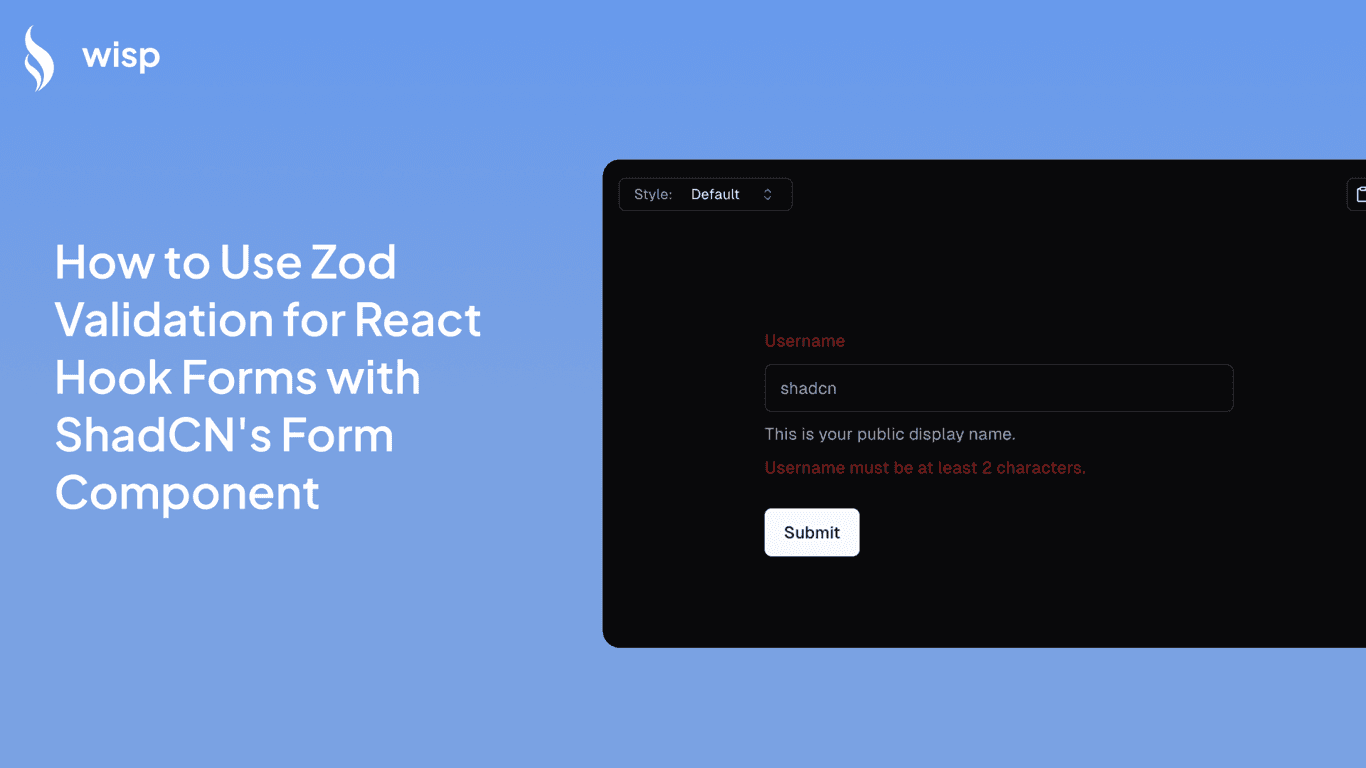
In this example, we define a schema for a form where the username field is required to be a string with a minimum length of 2 characters.
Integrating Zod with React Hook Form
Now that we have our validation schema, let's integrate it with React Hook Form. We'll use the useForm Hook from React Hook Form along with the zodResolver to connect our schema.
Step 1: Setting Up the Form Component
First, import the necessary modules and set up your form component.
import { zodResolver } from '@hookform/resolvers/zod';
import { useForm } from 'react-hook-form';
import { formSchema } from './path-to-your-schema';

const { register, handleSubmit, formState: { errors } } = useForm({
  resolver: zodResolver(formSchema),
});
Step 2: Creating the Form
Next, create a simple form component that uses React Hook Form and our Zod validation schema.
const onSubmit = data => console.log(data);

return (
  <form onSubmit={handleSubmit(onSubmit)}>
    <input {...register('username')} placeholder="Username" />
    {errors.username && <span>{errors.username.message}</span>}
    <button type="submit">Submit</button>
  </form>
);
In this code, we use the register function to register the username input with React Hook Form, and we handle form submission with the handleSubmit function. Any validation errors from Zod are accessed through the errors object, and appropriate error messages are displayed.
Best Practices for Using Zod with React Hook Form
Reusable Components
One of the best practices when working with forms is to use reusable input components. This not only helps in maintaining cleaner code but also makes it easier to manage validations.
Here's an example of a reusable input component:
import { useFormContext } from 'react-hook-form';

const Input = ({ name, label, type = "text" }) => {
  const { register, formState: { errors } } = useFormContext();

  return (
    <div>
      <label>{label}</label>
      <input {...register(name)} type={type} />
      {errors[name] && <span>{errors[name].message}</span>}
    </div>
  );
};
Client-Side and Server-Side Validation
While client-side validation improves user experience by providing immediate feedback, it’s important to also implement server-side validation to ensure data integrity. This can be achieved by validating the form data again on the server using the same Zod schema.
Comprehensive Error Handling
Proper error handling is crucial for providing a good user experience. Use the errors object provided by React Hook Form to display meaningful error messages next to form fields.
{errors.username && <span>{errors.username.message}</span>}Advanced Techniques
Complex Form Validation
In real-world applications, forms can be complex with various input types and conditional validations. Here’s an example of a more complex validation schema and integrating it with a form.
import { z } from 'zod';

const complexSchema = z.object({
  username: z.string().min(2, { message: "Username must be at least 2 characters." }),
  email: z.string().email({ message: "Invalid email address." }),
  age: z.number().min(18, { message: "You must be at least 18 years old." }),
});
Integration with Other Libraries
Integrating Zod validation with libraries like react-datepicker and react-select can further enhance your forms. Here’s a brief example:
import ReactDatePicker from 'react-datepicker';
import Select from 'react-select';

const CustomForm = () => {
  const { register, handleSubmit, setValue, formState: { errors } } = useForm({
    resolver: zodResolver(complexSchema),
  });

  return (
    <form onSubmit={handleSubmit(onSubmit)}>
      <input {...register('username')} placeholder="Username" />
      {errors.username && <span>{errors.username.message}</span>}

      <input {...register('email')} placeholder="Email" />
      {errors.email && <span>{errors.email.message}</span>}

      <ReactDatePicker {...register('birthDate')} onChange={(date) => setValue('birthDate', date)} />
      {errors.birthDate && <span>{errors.birthDate.message}</span>}

      <Select {...register('jobPosition')} options={jobOptions} />
      {errors.jobPosition && <span>{errors.jobPosition.message}</span>}

      <button type="submit">Submit</button>
    </form>
  );
};
Conclusion
Integrating Zod with React Hook Forms provides a robust solution for form validation in React applications. By leveraging the power of Zod’s schema validation and React Hook Form’s state management, you can create forms that are not only type-safe but also provide a better user experience with immediate feedback and comprehensive error handling. Explore the examples and best practices outlined in this article to implement efficient form validation in your React projects.
For more detailed information, you can refer to the React Hook Form Documentation and Zod Documentation.


