You're a web developer who values clean, high-performance code and a seamless user experience. You've heard about the importance of Open Graph images for social sharing, but creating visually appealing designs feels like an uphill battle. As someone who isn't a designer, you find it really difficult to execute on this crucial aspect of modern web development. Despite your best efforts, you're still not satisfied with your creations - they often look amateurish or lack that professional polish. Finding it challenging to make something that looks nice, you wish there was an easier way.
While Open Graph images may seem like a small detail, you know they can make or break how your content is perceived when shared across social platforms. A stunning OG image can entice clicks and give an elevated first impression, while a poorly designed one can turn people off before they even visit your site.
You've tried using pre-built UI component libraries like Tailwind UI, but quickly realized that approach doesn't work with Vercel's @vercel/og library which powers the OG image generation. The library uses Satori under the hood and has its own rendering engine that doesn't allow for using off-the-shelf components and classes. Instead, you have to meticulously define every style property, which is both tedious and error-prone. When your custom styles inevitably conflict with Satori's supported properties, the image generation crashes without any meaningful error messages.
Your preference would be to buy or use existing high-quality templates, but there are virtually no good options available for Satori's unique requirements. You're stuck choosing between basic, cookie-cutter designs or building everything from scratch - a daunting task for a non-designer.
Steal my code for Wisp's OG Image Generator

I'm going to share the actual code powering the Open Graph Image Generator used by Wisp - a powerful CMS designed to easily add blogs to your Next.js websites? By leveraging these battle-tested templates, you can generate dynamic, professional-grade OG images with just a few lines of code - no design skills required.
These are the same templates I use to create the stunning social share cards for my own content.
First, let me show you the core generator function and types that power the OG Image Generator:
import { ImageResponse } from "next/og";

export type FontMap = Record<
  string,
  {
    data: Buffer | ArrayBuffer;
    name: string;
    weight?: 100 | 200 | 300 | 400 | 500 | 600 | 700 | 800 | 900;
    style?: "normal" | "italic";
    lang?: string;
  }
>;

export interface BlogBannerImageData {
  title: string;
  label?: string;
  brandUrl?: string;
  brandText?: string;
}

const loadFonts = async (): Promise<FontMap> => {
  return {
    "inter-bold": {
      name: "Inter",
      data: await fetch(new URL("Inter-SemiBold.ttf", appConfig.baseUrl)).then(
        (res) => res.arrayBuffer(),
      ),
      weight: 700,
      style: "normal",
    },
    "inter-semibold": {
      name: "Inter",
      data: await fetch(new URL("Inter-SemiBold.ttf", appConfig.baseUrl)).then(
        (res) => res.arrayBuffer(),
      ),
      weight: 600,
      style: "normal",
    },
    "inter-regular": {
      name: "Inter",
      data: await fetch(new URL("Inter-Regular.ttf", appConfig.baseUrl)).then(
        (res) => res.arrayBuffer(),
      ),
      weight: 400,
      style: "normal",
    },
    "inter-light": {
      name: "Inter",
      data: await fetch(new URL("Inter-Light.ttf", appConfig.baseUrl)).then(
        (res) => res.arrayBuffer(),
      ),
      weight: 300,
      style: "normal",
    },
  };
};

export const generateOpenGraphImage = async (
  data: BlogBannerImageData,
): Promise<ImageResponse> => {
  const fonts = await loadFonts();
  return generateImage(data, fonts); // use one of the templates from below
};
Important Notes:
Host fonts in the
/publicfolder and use the correctappConfig.baseUrl. It should be a full URL pointing to localhost during during development and your site's url during production. I spent way too much time fixing the missing font issue.Consider caching the loaded fonts to improve performance.
Now, here are three proven templates you can straight-up copy from the Wisp's OG Image Generator:
Template 1 - Bold Title with Label

import { ImageResponse } from "next/og";
import type { FontMap } from "../fonts/fonts";
import type { BlogBannerImageData } from "../types";

const generateImage = (
  { title, label, brandText }: BlogBannerImageData,
  fonts: FontMap,
) => {
  return new ImageResponse(
    (
      <div
        style={{
          height: "100%",
          width: "100%",
          display: "flex",
          flexDirection: "column",
          backgroundColor: "#fcf6f1",
          justifyContent: "space-between",
          fontFamily: "Inter-Bold",
          color: "#212121",
          padding: "40px",
        }}
      >
        <div
          style={{
            display: "flex",
            flexDirection: "column",
          }}
        >
          {label && (
            <div
              style={{
                marginRight: "auto",
                color: "#fcf6f1",
                background: "#060606",
                padding: "5px 10px",
                fontWeight: "600",
                fontSize: "24px",
                letterSpacing: "-0.05em",
              }}
            >
              {label}
            </div>
          )}
          <div
            style={{
              marginTop: "40px",
              fontSize: "96px",
              fontWeight: "900",
              lineHeight: "6rem",
              padding: "0 0 100px 0",
              letterSpacing: "-0.025em",
              color: "#212121",
              fontFamily: "Inter-Bold",
              lineClamp: 4,
            }}
          >
            {title}
          </div>
        </div>
        {brandText && (
          <div
            style={{
              fontSize: "32px",
              fontWeight: "900",
              color: "#212121",
              display: "flex",
              textAlign: "right",
              width: "100%",
              justifyContent: "flex-end",
            }}
          >
            {brandText}
          </div>
        )}
      </div>
    ),
    {
      width: 1200,
      height: 600,
      fonts: [
        fonts["inter-bold"],
        fonts["inter-semibold"],
        fonts["inter-regular"],
        fonts["inter-light"],
      ],
    },
  );
};

export default generateImage;
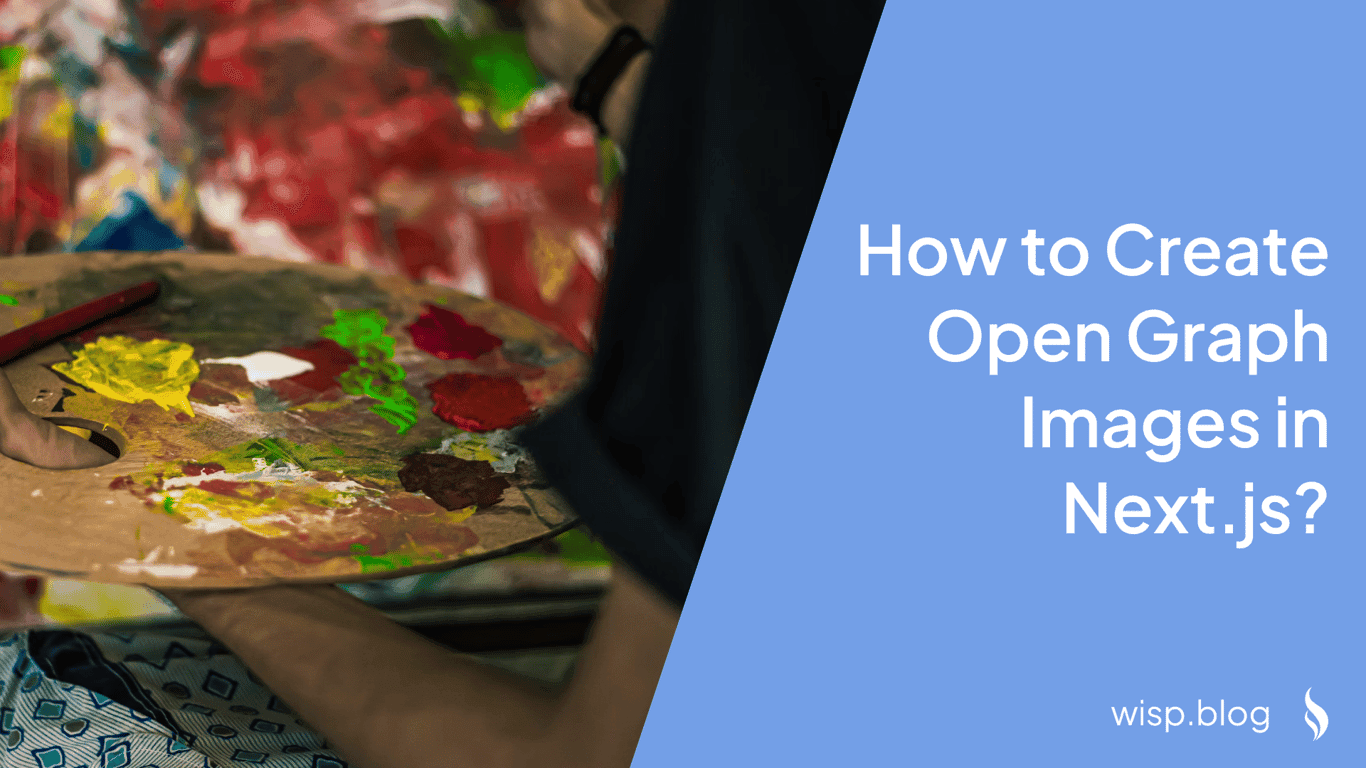
This template features a bold title with an optional label, perfect for blog posts or articles.
Key Features:
Large title with line clamping
Accent label for categories/topics
Optional brand text
Template 2 - Tech-Inspired Design

import { ImageResponse } from "next/og";
import type { FontMap } from "../fonts/fonts";
import type { BlogBannerImageData } from "../types";

const generateImage = (
  { title, label, brandUrl }: BlogBannerImageData,
  fonts: FontMap,
) => {
  return new ImageResponse(
    (
      <div
        style={{
          height: "100%",
          width: "100%",
          display: "flex",
          flexDirection: "row",
          backgroundColor: "#242f40",
          backgroundImage:
            "linear-gradient(45deg, #242F40 25%, transparent 25%), linear-gradient(315deg, #242F40 25%, transparent 25%) ,linear-gradient(45deg, transparent 24%,#283348 25%, #283348 30%, transparent 31%, transparent 39%,#283348 40%, #283348 45%, transparent 45%),linear-gradient(315deg, transparent 24%,#283348 25%, #283348 30%, transparent 31%, transparent 39%,#283348 40%, #283348 45%, transparent 45%)",
          backgroundSize: "60px 60px",
          fontFamily: "JetBrainsMono-Bold",
        }}
      >
        <div
          style={{
            display: "flex",
            flexDirection: "column",
            alignItems: "center",
            justifyContent: "center",
            width: brandUrl ? "30%" : "15%",
          }}
        >
          {brandUrl && (
            // eslint-disable-next-line @next/next/no-img-element
            <img
              alt="Brand Logo"
              src={brandUrl}
              style={{
                width: 200,
                height: 200,
                borderRadius: "50%",
              }}
            />
          )}
        </div>
        <div
          style={{
            display: "flex",
            flexDirection: "column",
            width: "70%",
            justifyContent: "center",
          }}
        >
          <div
            style={{
              display: "flex",
              fontSize: "32px",
              fontWeight: "900",
              color: "#828cf1",
            }}
          >
            {label}
          </div>
          <div
            style={{
              fontSize: "64px",
              fontWeight: "900",
              lineHeight: "5rem",
              color: "white",
              display: "block",
              fontFamily: "PlusJakartaSans",
              lineClamp: 4,
            }}
          >
            {title}
          </div>
        </div>
      </div>
    ),
    {
      width: 1200,
      height: 600,
      fonts: [fonts["jetbrains-mono"], fonts["plus-jakarta-sans"]],
    },
  );
};

export default generateImage;
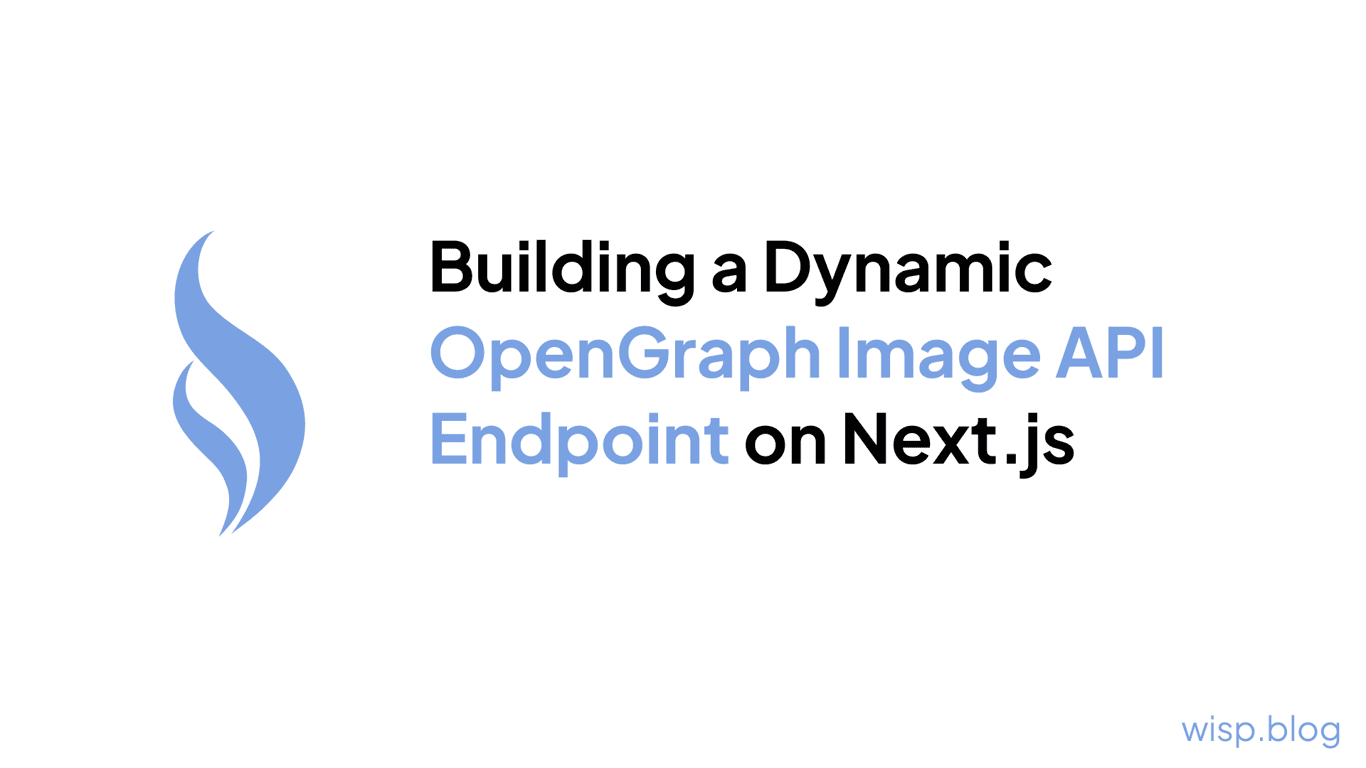
With its code-inspired background pattern and brand logo, this template is ideal for tech blogs, tutorials, or products.
Key Features:
Circular brand logo
Monospace title font
Label for topics
Template 3 - Minimal Brand Showcase

import { ImageResponse } from "next/og";
import type { FontMap } from "../fonts/fonts";
import type { BlogBannerImageData } from "../types";

const generateImage = (
  { title, brandUrl, brandText }: BlogBannerImageData,
  fonts: FontMap,
) => {
  return new ImageResponse(
    (
      <div
        style={{
          position: "relative",
          height: "100%",
          width: "100%",
          display: "flex",
          flexDirection: "row",
          fontFamily: "Inter-Bold",
          backgroundColor: "white",
        }}
      >
        <div
          style={{
            display: "flex",
            width: brandUrl ? "30%" : "15%",
            justifyContent: "center",
            alignItems: "center",
          }}
        >
          {brandUrl && (
            // eslint-disable-next-line @next/next/no-img-element
            <img
              alt="Brand Logo"
              src={brandUrl}
              style={{
                width: 250,
                height: 250,
              }}
            />
          )}
        </div>

        <div
          style={{
            display: "flex",
            width: "70%",
            alignItems: "center",
            fontFamily: "Inter-Bold",
            fontSize: "64px",
            fontWeight: "900",
          }}
        >
          {title}
        </div>
        {brandText && (
          <div
            style={{
              position: "absolute",
              bottom: 50,
              right: 50,
              color: "#7aa2e3",
              fontSize: "24px",
            }}
          >
            {brandText}
          </div>
        )}
      </div>
    ),
    {
      width: 1200,
      height: 600,
      fonts: [
        fonts["inter-bold"],
        fonts["inter-semibold"],
        fonts["inter-regular"],
        fonts["inter-light"],
      ],
    },
  );
};

export default generateImage;
This template puts your brand front-and-center with a large logo, great for company blogs or product marketing.
Key Features:
Prominent brand logo
Clean title text
Discreet brand text
Pro Tips:
Use a tool like ogtester.app or metatags.io to preview how your OG images will look when shared.
Optimize image sizes by setting appropriate
widthandheightin theImageResponseoptions.Explore the Satori library for even more advanced OG image generation capabilities.
Now go wow your audience!
With these battle-tested templates powering a real-world OG Image Generator, you can easily create stunning, on-brand Open Graph images without being a designer. Simply plug in your content, and let the optimized code handle the rendering. No more settling for subpar designs or wasting time fighting styling issues!
Optimizing your Open Graph images is a crucial step in creating a seamless, professional user experience across all platforms. Don't let your lack of design skills hold you back - leverage the power of Next.js 14 and these proven templates to generate beautiful, high-converting social share cards with ease.


